Introduction
Stencil art with spray paint is a dynamic and accessible way to create stunning designs. Whether you’re a beginner or an experienced artist, this technique offers endless creative possibilities. By combining stencils with vibrant spray paint colors, you can achieve bold, intricate patterns with minimal effort. This guide will walk you through the essentials of stencil art, from materials to techniques and helpful tips for creating eye-catching pieces.
Materials You’ll Need
- Spray paint (various colors)
- Stencils (purchased or handmade)
- Cardstock or poster board (as your canvas)
- Masking tape or adhesive spray (to hold stencils in place)
- Protective gear (gloves, mask, and safety glasses)
- Drop cloth or plastic sheet (to protect your workspace)
- Craft knife or scissors (for custom stencils)
Step 1: Preparing Your Workspace
Since spray paint can be messy and produce fumes, it’s crucial to work in a well-ventilated area or outdoors. Lay down a drop cloth or plastic sheet to protect surrounding surfaces. Wear gloves, a mask, and safety glasses to ensure you stay safe during the process.
Step 2: Choosing and Creating Stencils
Stencils are the foundation of your spray paint design. You can purchase pre-made stencils or create custom designs:
- Pre-Made Stencils: Ideal for beginners and available in various patterns, shapes, and themes.
- DIY Stencils: Draw your design on sturdy cardstock or plastic sheets. Use a craft knife to carefully cut out the shapes for clean, defined edges.
Step 3: Prepping the Canvas
Place your cardstock, poster board, or chosen canvas on the protected surface. Secure your stencil in place with masking tape or adhesive spray to prevent movement during painting.
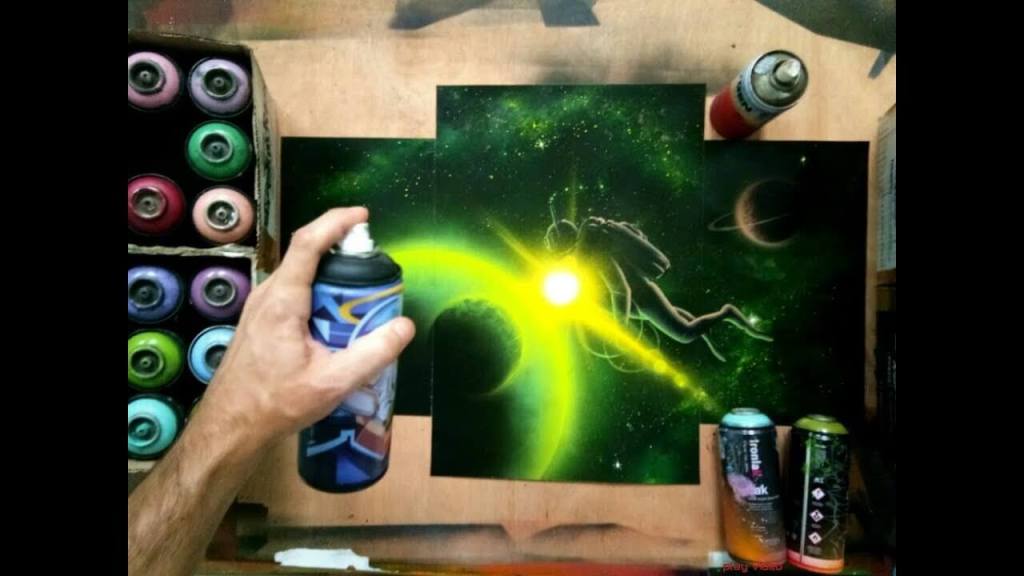
Step 4: Spray Painting Techniques
Proper technique is key to achieving clean and vibrant designs. Follow these steps:
- Shake the Can: Shake your spray paint can for at least one minute to ensure even color distribution.
- Spray at a Distance: Hold the can 8-12 inches away from the canvas to avoid paint pooling or drips.
- Use Light Layers: Apply thin, even layers of paint rather than heavy coats to prevent the stencil from bleeding.
- Control the Spray: Move your hand steadily to ensure consistent coverage.
- Blend Colors (Optional):
For gradient effects, lightly overlap colors in a sweeping motion.
Step 5: Removing the Stencil
Allow the paint to dry slightly before removing the stencil. Carefully lift the stencil upward to avoid smudging. If you notice paint bleeding, touch up the design with a fine brush or additional spray paint.
Step 6: Adding Details and Finishing Touches For added creativity, consider incorporating:
- Additional layers of stencils for complex patterns.
- Splatter effects by flicking paintbrush bristles for a dynamic background.
- Highlights or outlines using paint pens to define key elements.
Step 7: Drying and Sealing Your Artwork Let your artwork dry for several hours before handling it. To preserve your design, apply a clear spray sealer or varnish for added durability and a professional finish.
Tips for Success
- Practice on scrap paper to master spray paint control before starting your main piece.
- Choose contrasting colors for high-impact designs.
- Keep your stencils clean by wiping off excess paint between uses.
- Experiment with different textures, such as sponges or crumpled paper, to add depth.
Conclusion
Stencil art with spray paint is a fun and versatile way to express creativity. With the right materials, techniques, and some practice, you can produce striking designs perfect for home decor, gifts, or even street art. Embrace the creative process and let your imagination guide your designs!

Leave a comment